
My house has two bathrooms. Two small bathrooms. I've talked about the upstairs one before, but never really the downstairs bathroom.
MY bathroom.
That's where I shower, do my hair, keep my supplies. Of course other people use the facilities, but I'm the only one that showers there. (I can't find the pictures from when we moved in. But suffice it to say, it was the cutest room in the house.)
The worst part about my bathroom is the lack of counter space. As in - THERE FREAKIN ISN'T ANY!!!
The only place to put clothes for showers is the back of the toilet. I've dropped more than one shirt into the open toilet after showering.
 My hand mirror is melted and twisted from being too close to my curling iron in the sink. Yes the sink. It's the only place to put brushes, mirrors, irons, and blow dryers - usually all at the same time.
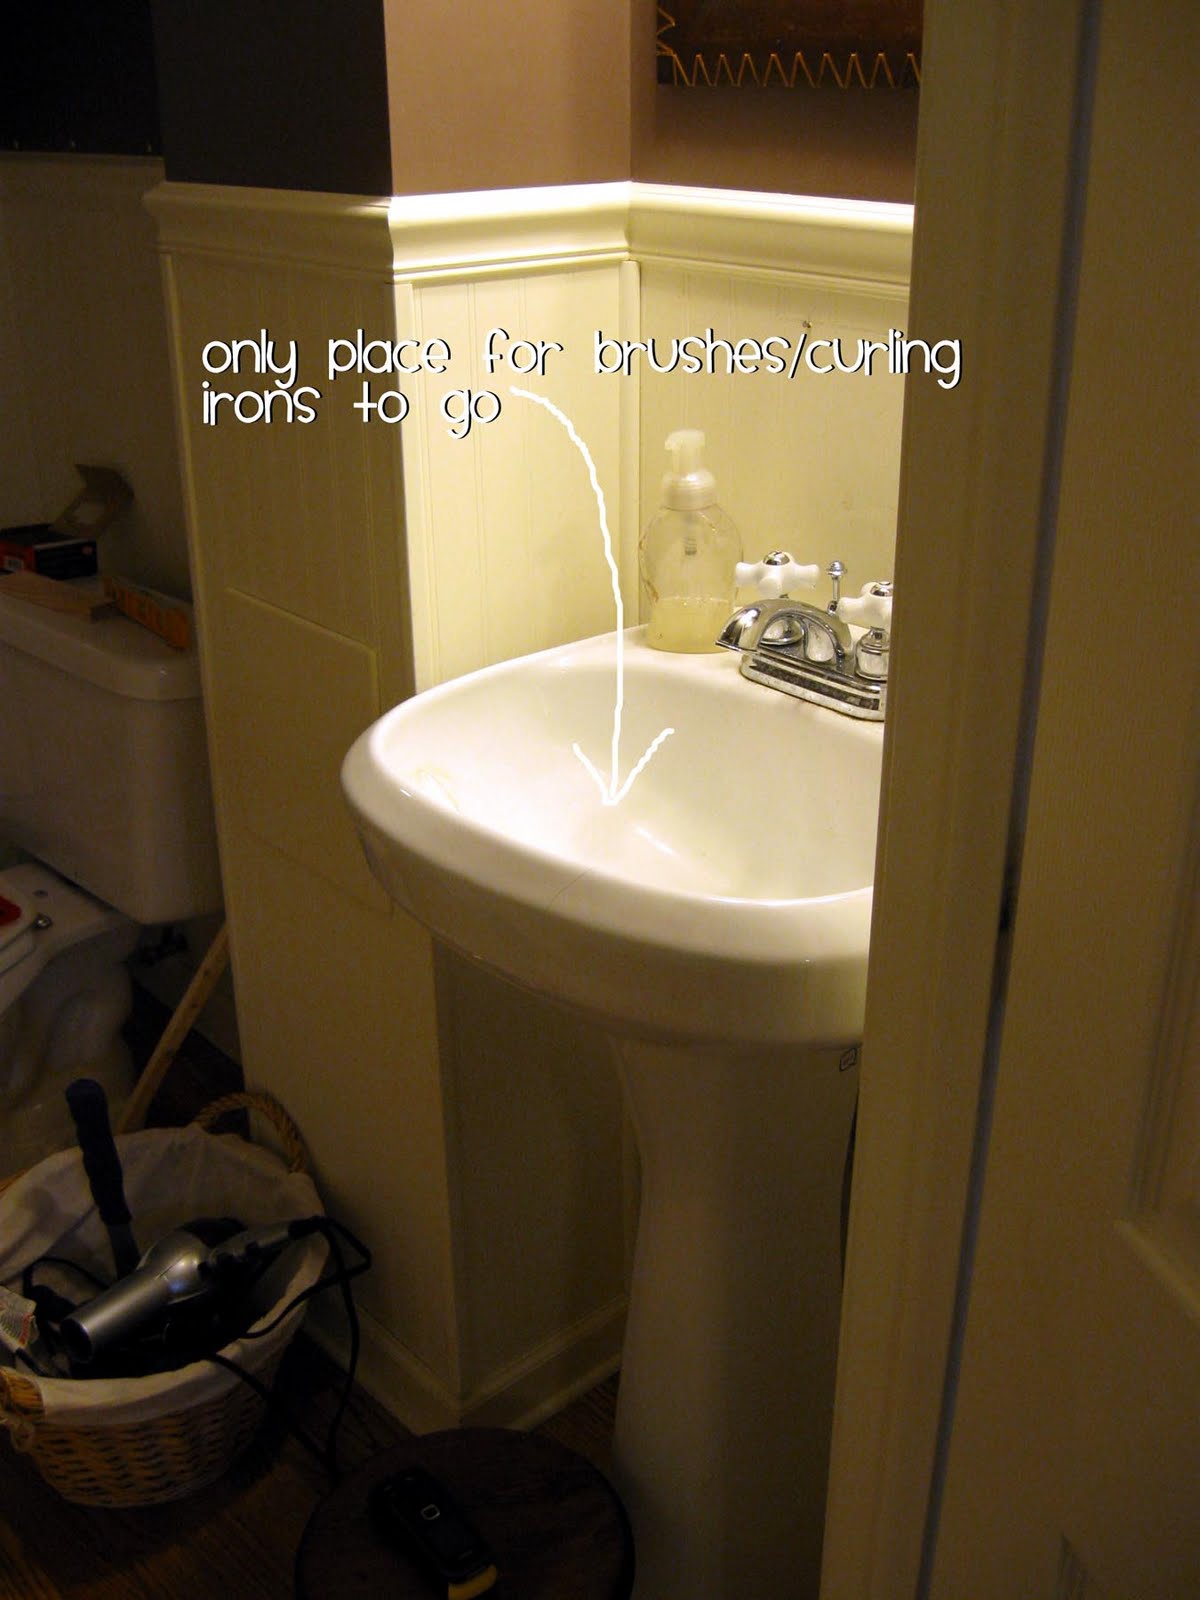 So I've been looking for a solution.
 Happy Mom and I are trying to get together every 3 months or so and have a sister craft day. Our first one was Thursday (which was quite the adventure). We had several ideas for what to craft, but ultimately decided on making some shelves using this tutorial. The best part about it - Happy Mom did this a few years ago. Which meant she already had the doors (FREE!) and they were cut in half already (no scary table saw!) The worst part about this craft was not measuring right (GRRRR!), and I had nothing to show when I left her house. But it's all good!
We did change the instructions just a bit. Happy Mom's previous shelf tends to lean down in the front. So we added side cleats to help with some stability. On a door, there's a thick piece of wood at the top/bottom. Since I couldn't drill through that, I put one cleat out from the wall that it will just slide over (kind of like these plans)
 How I assembled: I predrilled some holes in my cleats (the wood that goes on the wall). Then I put the wood on the wall and drilled the same holes again. I took the wood off and TADA!! now new where to put in my drywall anchors!
 Then screw those puppies in!
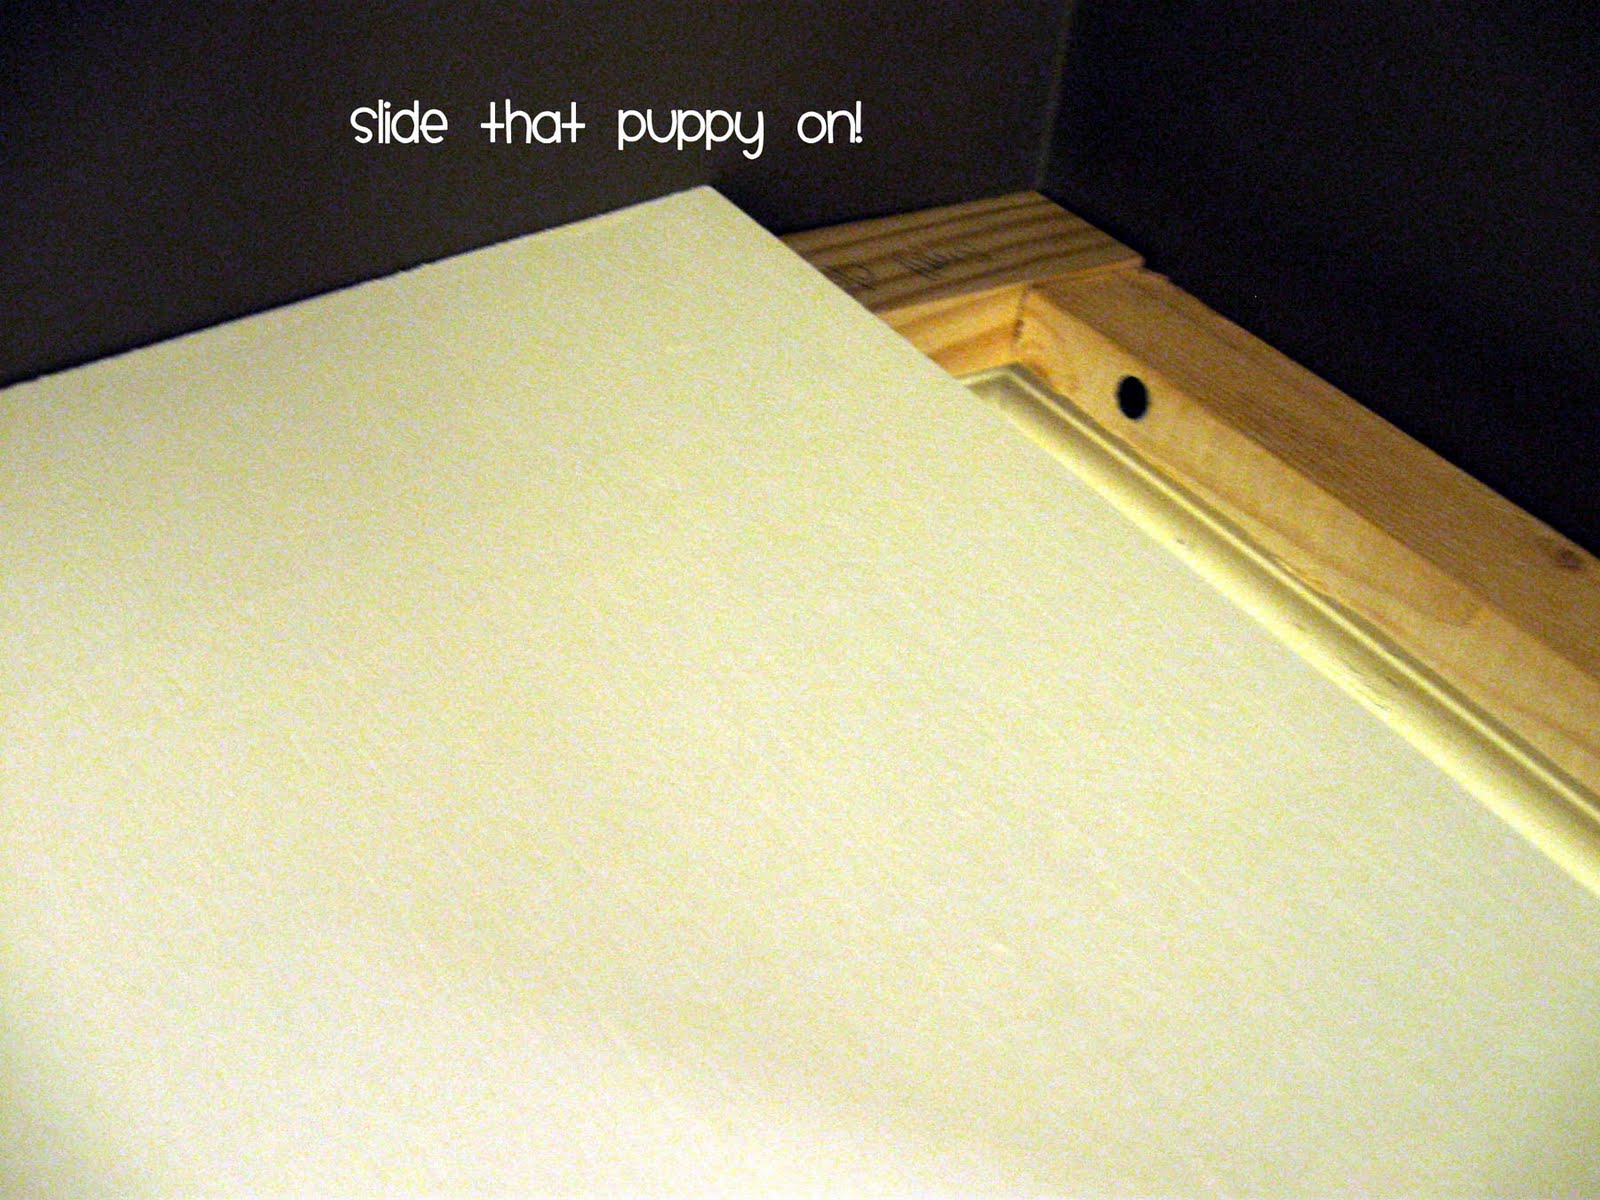
You do need to dig out a bunch of cardboard from your door (did you know that's what is in there?)

Once your door is painted and dry, you can put it on the wall!*
 I also screwed it to the cleats in the two corners (so no little people try to climb up and fall to their doom)

Then slap up some junk from around the house (which will never stay there!) to stage it

and you're done!
And look! it's even level!
 My sink dilemma was even easier. I found a little shelf at a thrift store, and just nailed it to the bead board.
 (I'd been trying to come up with something to go between the chair rail and the mirror. This was a heck of a lot easier!)
Hooray for organization!
*Moment of honesty: I put my shelf too close to the chair rail. So it didn't fit. I had to unscrew everything, dig out the anchors, and move the whole thing 1/2 inch higher. Some days projects are just crazy!
LINKED HERE
Love it! I need to do some shelves in our old bathroom. I think you have inspired me.
ReplyDeleteI LOVE this! Its PERFECT for you to Link up at my Linky PAR-TAY,
ReplyDeleteWhassup Wednesday!!!
And I have a party button you can grab so your friends can come too:)
*ENTER LINKY PAR-TAY Here! *
xoxokara